RV Inspections are not that difficult if you are ready and armed with some knowledge. If you are new to RV or camping life and are buying your first RV or Camper you might be asking… What should I look for when I do a walkthrough of your RV, Motorhome or Camper? You might also be buying your second or third RV and not wanting to get burned with poor craftsmanship and quality control issues, I see a lot of them. I put together this free checklist for you from a certified and experienced RV Inspector’s viewpoint that I hope helps you navigate your purchase experience. Of course, if you don’t want to go at it alone and want that professional to take a look at it for you, I am happy to help. Just drop me a message and I can get you scheduled.
I am not just a motorhome and RV inspector, my wife and I are also campers ourselves and spend as much time as we can traveling in our travel trailer. I have inspected well over 500 RVs, motorhomes, and campers since 2009. I perform inspections for attorneys involved in lemon law and breach of warranty cases. I provide pre-purchase RV and motorhome inspections for consumers and I also provide RV and camper appraisal services when banks and insurance companies require them for loans and insurance claims. I know what to look for, where to look and how to document it for you.
Items to bring along to your RV, Motorhome or Camper Inspection
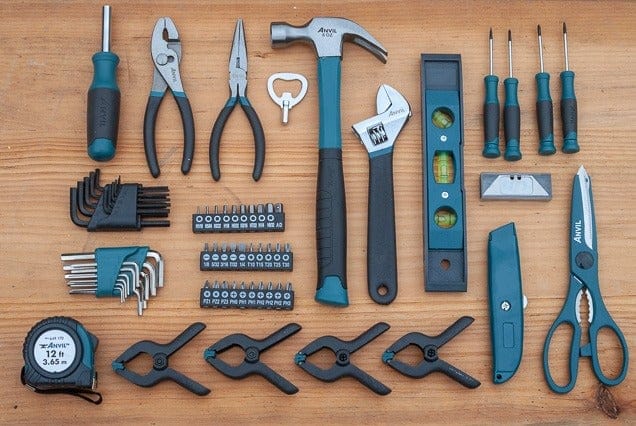
None of these items are specific. As long as your tools get the job done that is all that matters.
- Game Face – Try and leave the emotions at home for your RV inspection. This will help you stay focused and ready to do your RV inspection. Being too excited and already in love with the RV will bite you in the backside later on. Keep your focus and remember there are more fish in the sea.
- Patience – Remember this is likely someone’s camper, unless it is at a dealer. If the sellers are present let them know your plan to inspect the RV completely. Be kind, courteous and if you would like something taken off so you can look at something then ask first, I always recommend having the seller do any removal of panels or items for inspection.
- Pen and Paper – Don’t rely on just one sheet of paper or a scratch pad. Make a list as you go. If I am writing down something during my RV inspection, I usually take a picture of the item or area and take a picture of my note.
- Basic Tool Kit – Bring a screwdriver set, make sure one of them is the square tip bit because a lot of RV manufactures use them. Also, be sure to bring an adjustable wrench and a pair of pliers to your camper inspection.
- Ladder – For climbing on the RV roof, checking the tops of the slide outs and not relying on the mounted ladder. I’ve had mounted ladders pull out of the exterior walls because they were not properly anchored into the travel trailer wall studs.
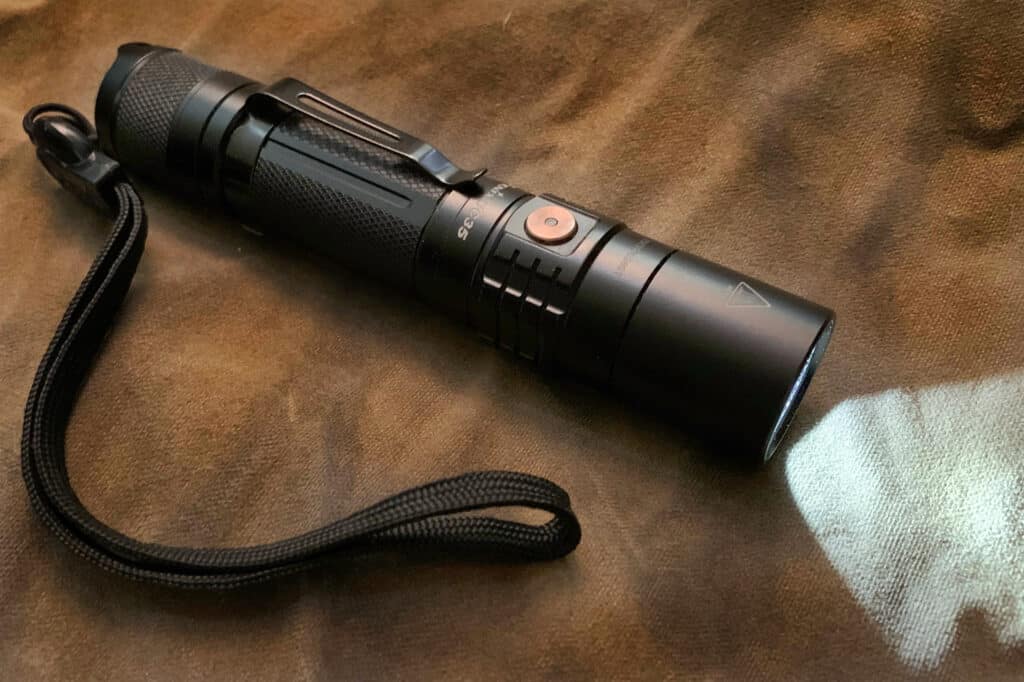
- Flashlight – For checking in dark areas where mice like to live and leave droppings and for checking for leaks inside the RV.
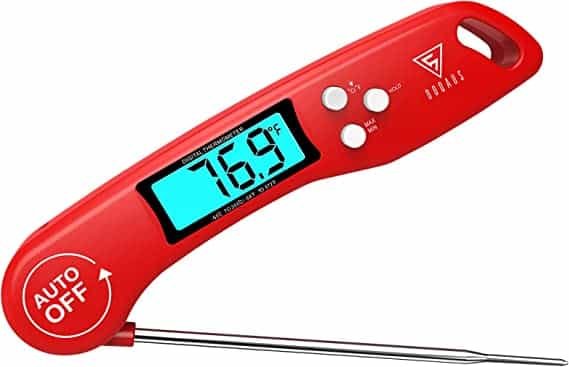
- Thermometer – For checking the temperature of the fridge(s) and air coming out the heater and AC vents of the 5th wheel. (A gun thermometer will work but I like to leave mine in the fridge and go do other things. The gun style will not allow you to do that.)
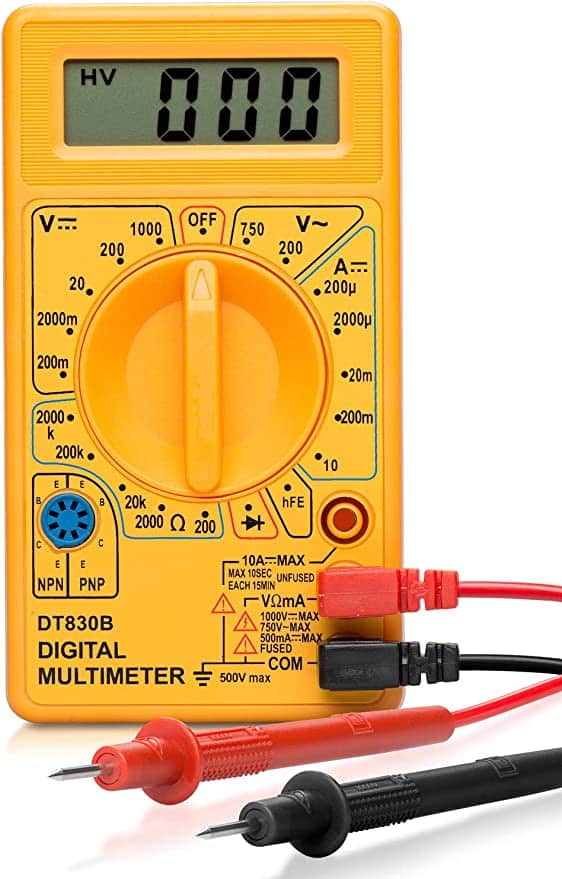
- Multimeter – Simple $25 voltage meter from Harbor Freight will do just fine. This is for checking battery voltage and making sure the converter and inverter in the RV during your inspection.
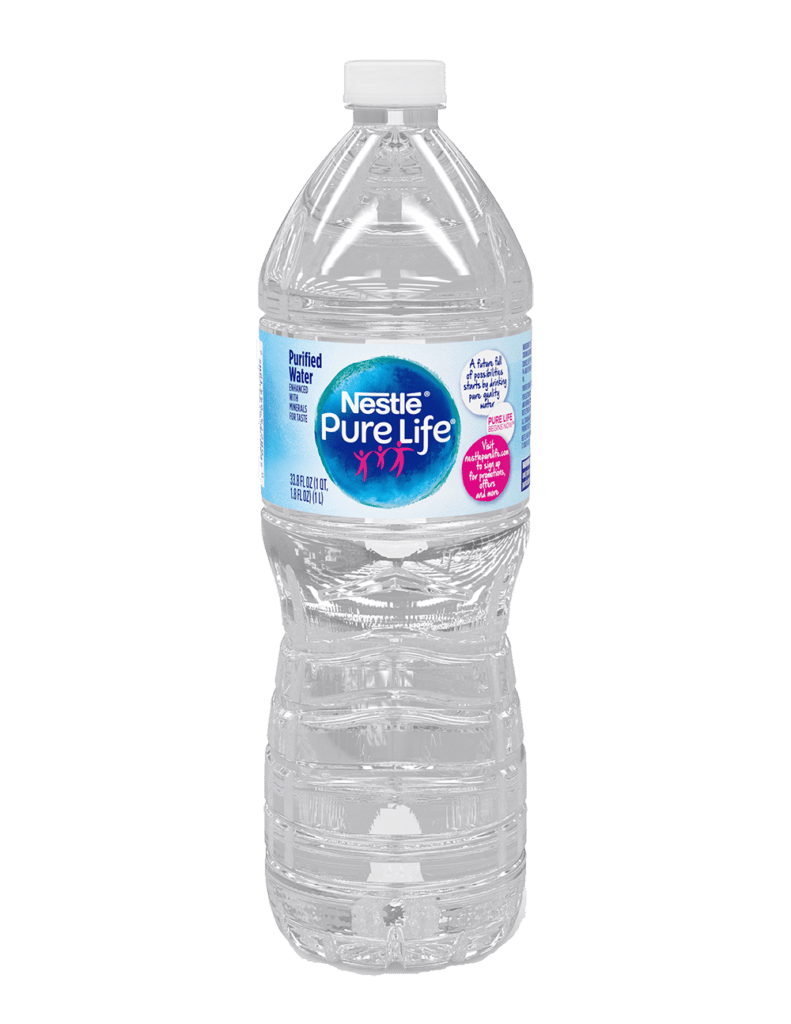
- Bottle of Water – You will use this during the microwave test.
- Coffee Mug – You will use this during the microwave test, yes it needs to be a coffee mug.
- Skillet – You will use this to test the stove, BE SURE TO KNOW WHAT TYPE OF STOVE IT IS, YOU MIGHT NEED AN INDUCTION PAN if it is an induction stove. (The sellers should have something for you)
- USB Cord and Something to Charge (your simple cell phone charger and cell phone will work, just make sure it worked before you got out of your car / truck)
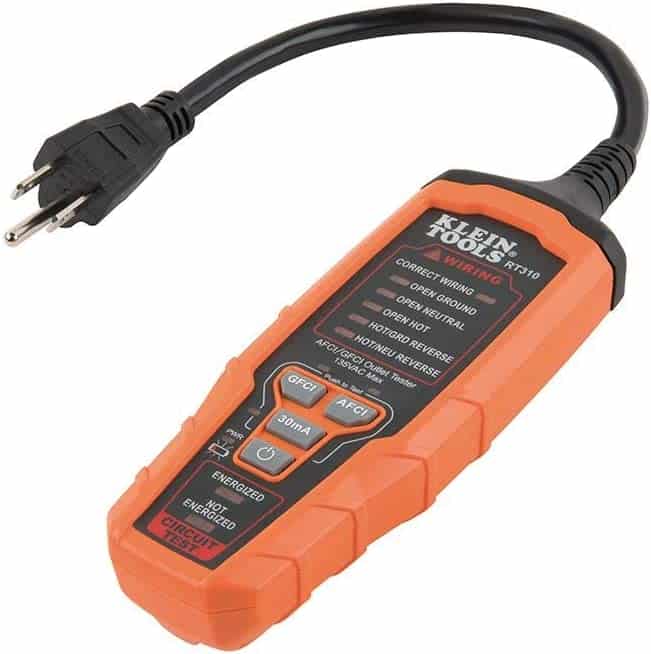
- GFCI Outlet Tester – You will use this to test all the outlets. I prefer the style shown below because not all of the outlets can you actually plug into and still see the lights on the short styles.


FIRST THINGS FIRST… You want the RV READY FOR INSPECTION… Okay, so you are probably asking. What does ready for an RV inspection actually mean?
- SPACE – Make sure there is enough room for all the slideouts and awning to be fully extended so you can walk around the full motorhome, camper, 5th wheel or travel trailer unit when it is extended.
- POWER – Make sure the RV is properly plugged into the proper power source. If it is a 50 amp unit then you want it plugged into a 50 amp shore power source. If it is a 30 amp unit then obviously you want it plugged into a 30 amp shore power source. Simply put, you want to simulate the exact same conditions in which you will actually be using your RV or camper when you test everything in the electrical system which I will walk you through later in this post. Preferably the RV should be plugged into power and the fridge turned on for at least 24 hours prior to the inspection. It’s not crucial but it is the best way to see if the refrigerators are cooling properly and getting down to the proper temps.
- WATER STORAGE TANKS – RV freshwater holding tank FULL of water. You want to be able to make sure the tank holds water and to test the onboard freshwater pump that supplies water to the sinks, bathtub/shower, and toilets. Also, don’t forget to test the outside shower. I will dig into how to test all this later.
- CITY WATER HOSE CONNECTION – Making sure there is a fresh water hose connection available to push water under pressure through the main water inlet just as if it were connected to a full hookup site at a campground. This is not a requirement but it is a good idea so you can test other water hogging features such as the tank flush and some of the bigger appliances like the dish washer and clothes washers.
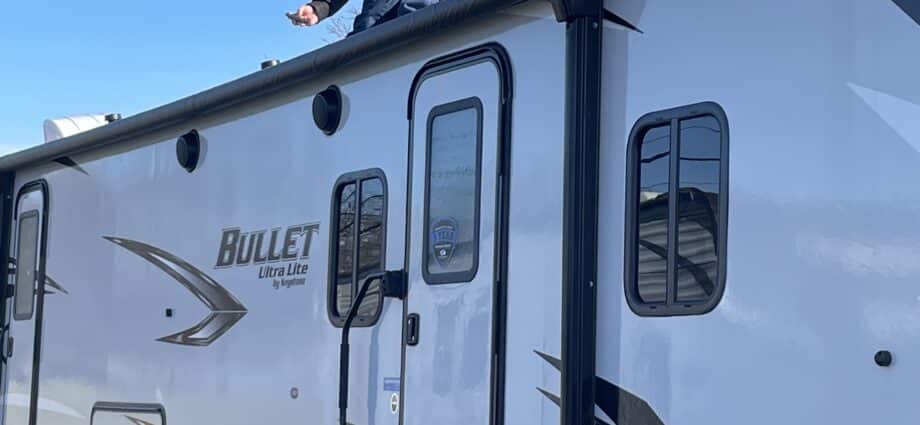
LET’S CLIMB THE LADDER! I always start with the roof when inspecting an recreational vehicle.
This is an example of a scary 5th wheel travel trailer roof. Even though it looks clean, smooth and doesn’t have repairs on it. Check out how the crossbeams protrude up through the membrane! You can seen them going from left to right starting just after the AC unit. This unit had been sent back to the manufacture and had been “rebuilt” due to the front bubbling up and peeling back. Short story… ALWAYS INSPECT YOUR ROOF even if it is brand new!
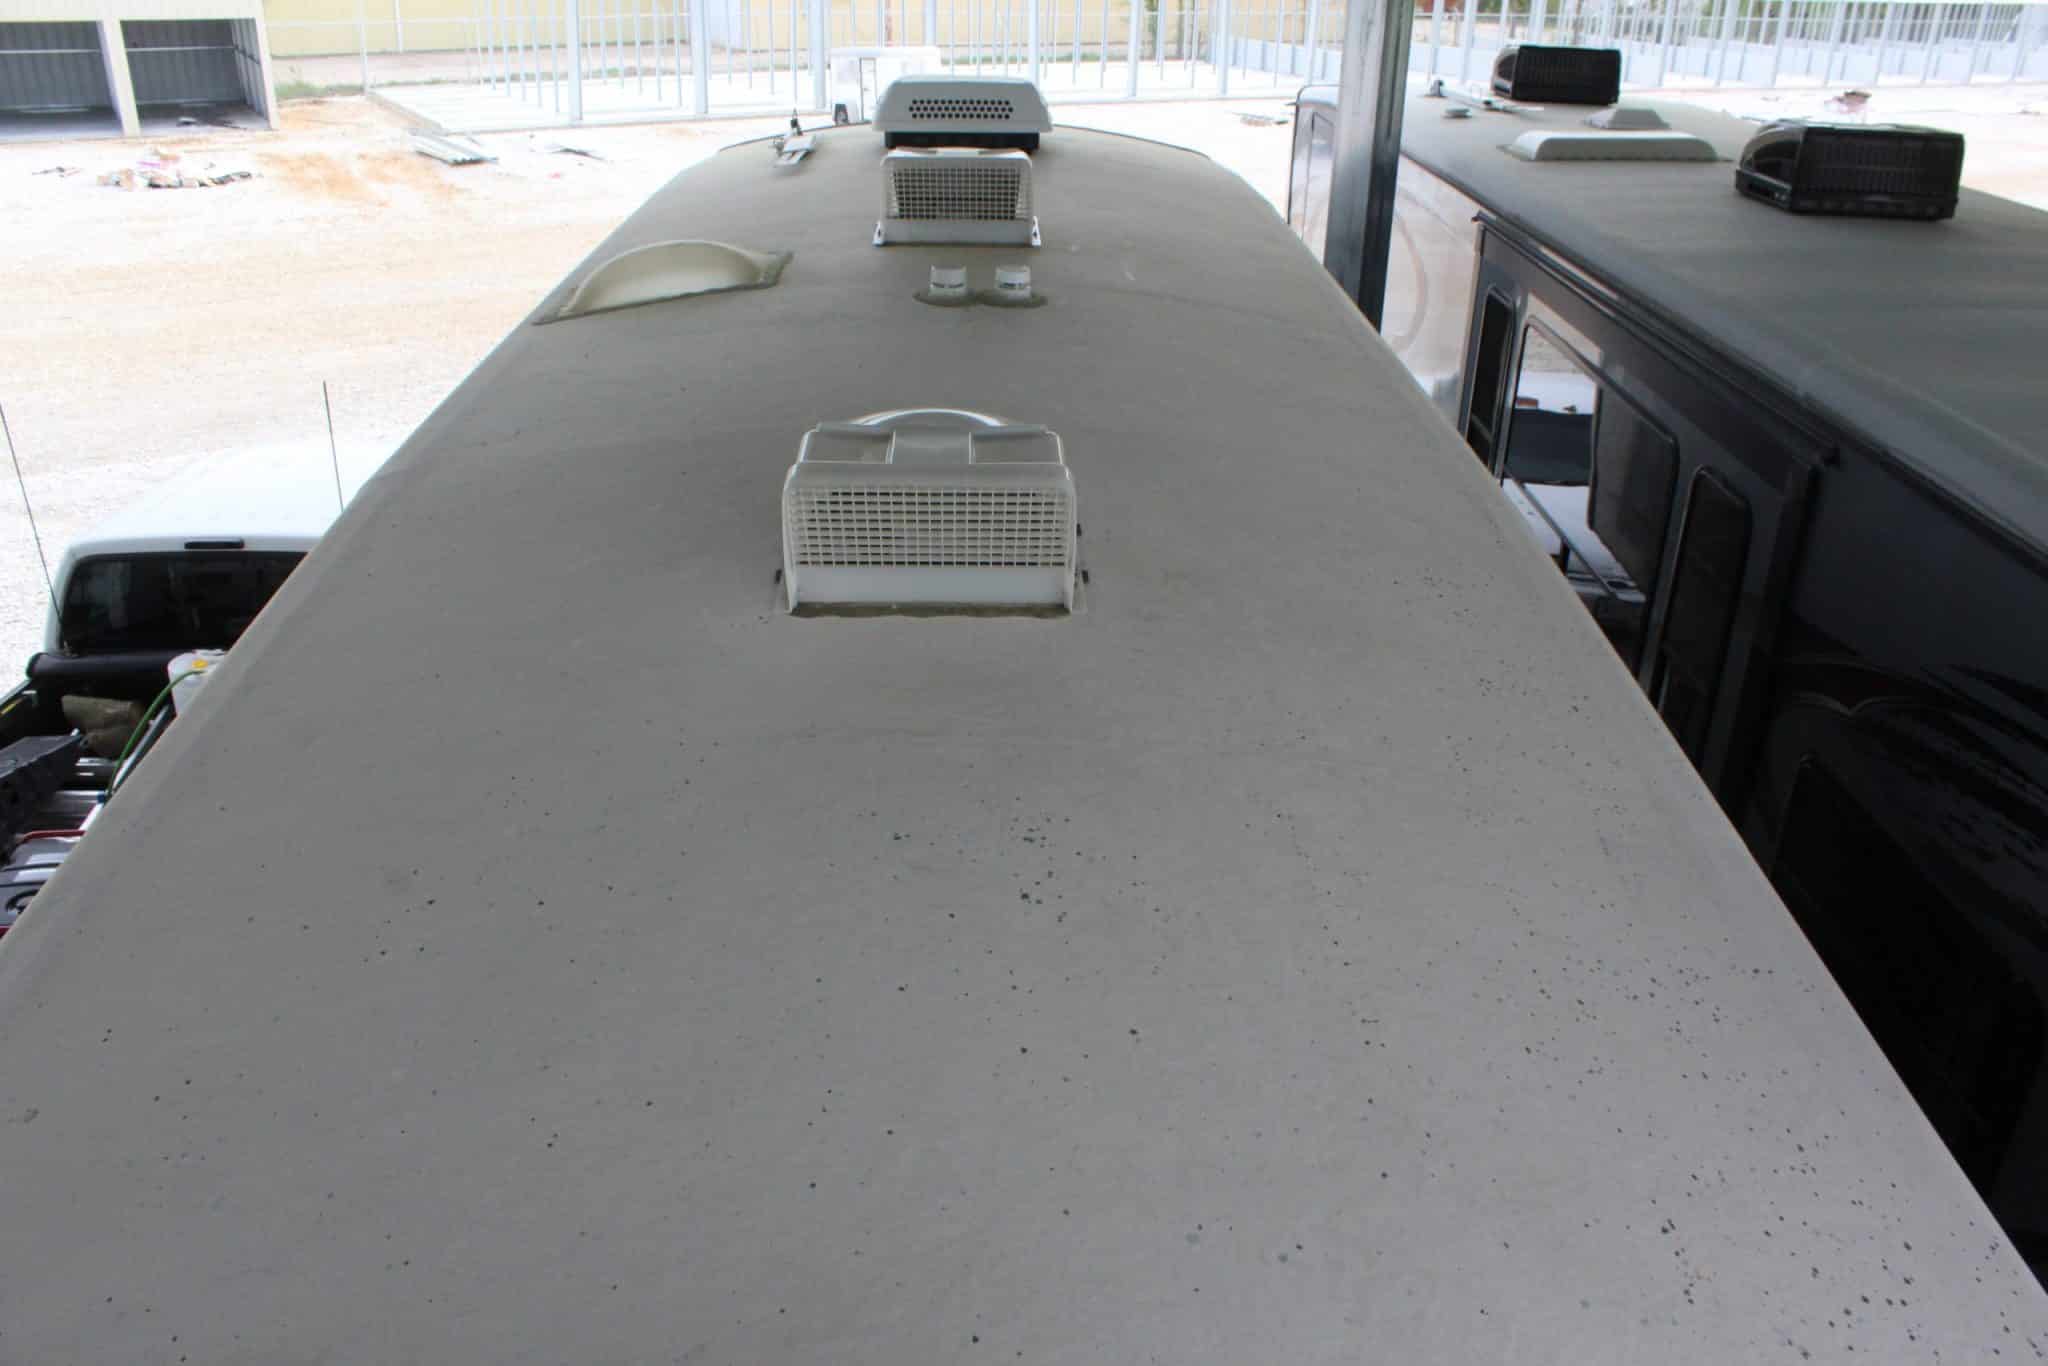
- I always start with the RV roof. Finding issues on the roof on an RV allows you to make sure you look for other problem areas and soft spots when you are doing your interior inspection.
- If you find a few areas on the roof that need some sealant touch up then it points you to look inside at the ceiling and the wall and floors in that area. Of course you need to inspect the interior interior on all eight corners (floors and ceilings) but finding an issue on top gives you an idea on how the RV has been maintained over the years.
- Seeing some touchups is 100% normal IF IT IS A USED RV. Seeing major tape jobs and a ton of sealant are HUGE red flags!
- Knowing your RV roof membrane types is a good idea before you go as well. Here is a great article explaining the different RV roof types and how to spot them.
TIME TO GO INSIDE THE RV. Pro tip… Bring a very bright flashlight to inspect the interior of the RV.
- CLEAR YOUR NOSE – Before you climb the steps of the RV blow your nose and take a very deep breath of outside fresh air. This will help you sniff out any mold and smoke odors and it will also help calm your nerves a bit and reduce the emotional excitement.
- STEP ON IN – Your first step will tell you a lot. The RV should be leveled and the stabilizers down already. This first step will give you some insight on how the RV will move around when people walk around in the camper throughout the day and when someone rolls over in their bed at night. There are some significant differences in how RV’s are built compared to others. This gets into a whole different subject but how your RV moves around will certainly affect how you enjoy it later. This is also specially important during a windy or stormy day as nobody enjoys being sea sick when you are on land.
- DEEP BREATH – When you walk into the RV for your inspection, take a deep breath through your nose. If it is overly perfumed or smells like deodorizer, this could be a red flag that the seller is trying to cover up some smoke or mold concerns. If that is the case, start sniffing around, it might be weird but it is truly the best way to figure it out. Smell the furnishings, under the cabinets and closets.
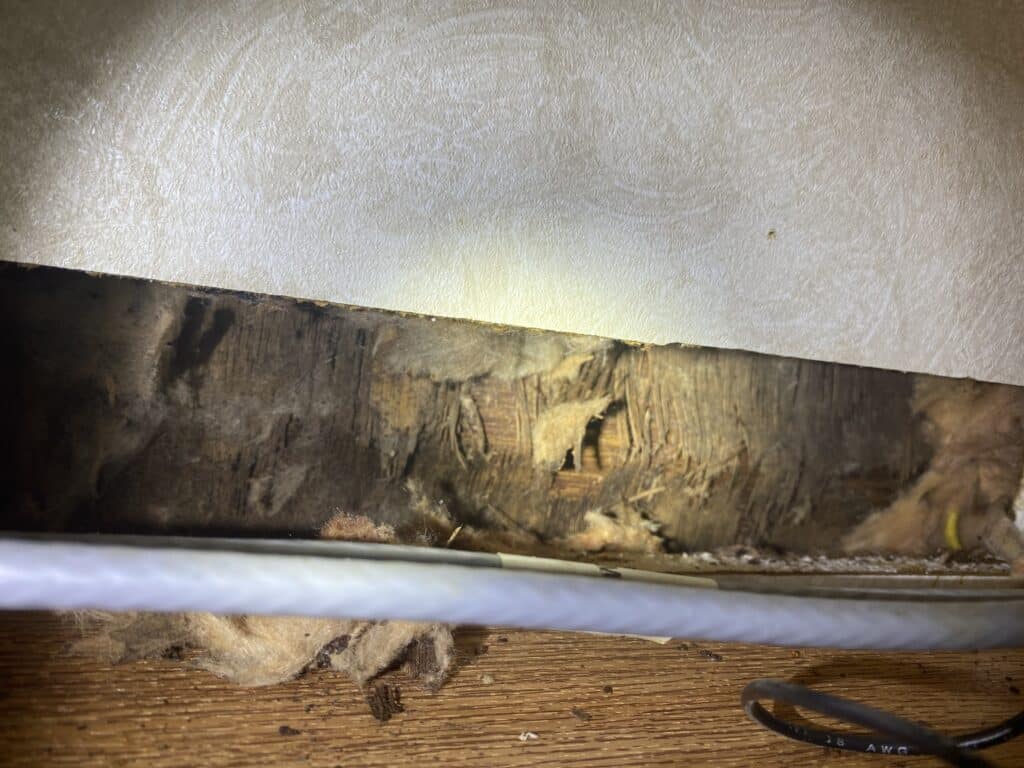
- LOOK AT EVERYTHING – As you are sniffing your way through the RV during your inspection be on the look out for stains on the walls, ceilings, floors and carpets. Also be sure to check in the window tracks and the walls under the windows for wrinkles in the wall panel finishes. Sometimes the manufacture installs the windows and they need resealed. A lot of times you will see some wrinkles in the wall covering if this is the case. If the wall covering is bubbled or has weird hard pin-like obtrusions this is definitely a red sign of prior or even current leakage.
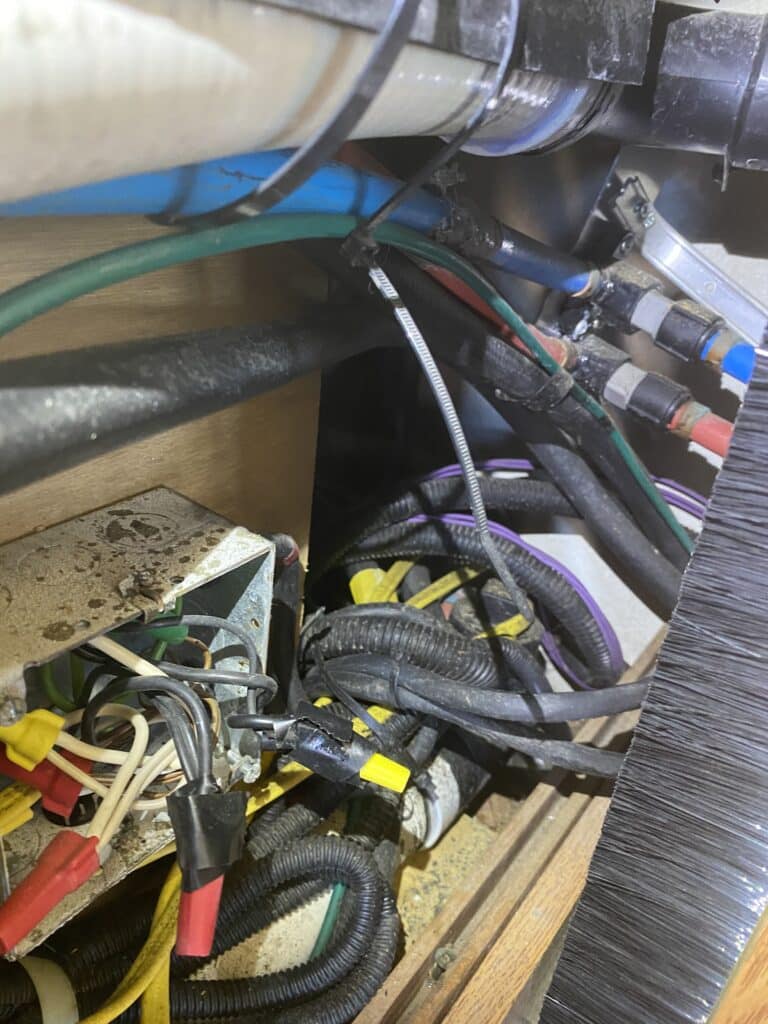
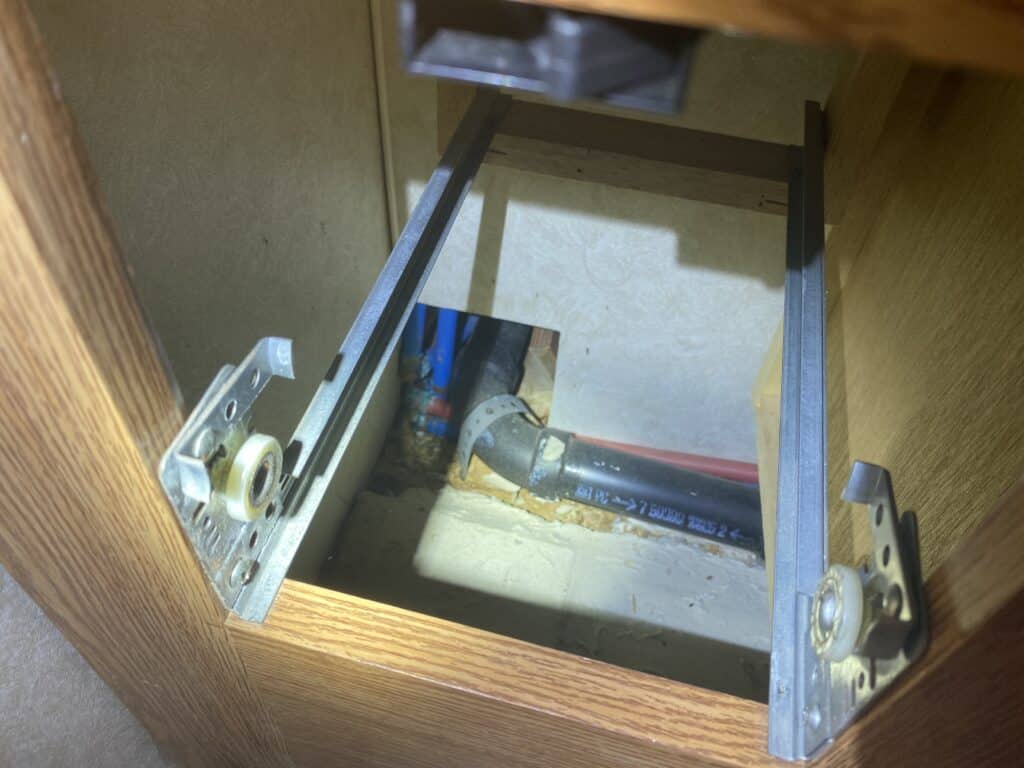
- USE THAT FLASHLIGHT – Using your nifty bright flashlight look in every corner and crook you can find. Don’t feel bad about opening doors and taking simple screwed on panels off for inspection. Remember that the current RV owner or even the dealer would likely do the same thing to your RV if you were selling it. Remember to open ever single door, open ever single cabinet, look under every single bed, chair, couch and corners. Look in the places that people would likely miss when vacuuming. Be on the lookout for rodent droppings and mold stains.
TIME TO PUT THINGS TO THE TEST. Turn EVERYTHING ON and see what doesn’t work during your RV Inspection.
Here is a moment of truths. Technically if the RV is properly wired and plugged into the proper outlet with the proper length of cord everything in the camper can be on at the same time without tripping the main breaker on the post or outlet. Does it always turn out this way? Nope. There are a lot of reasons why and why not but that is for another day and post. For now lets talk about how to inspect the RV and test things so you know what you are getting involved in.
- The refrigerator should already be on if the unit was “ready for inspection”. If not, make sure it is on and selected to AC power. It will need to sit for a while so go test other things and come back to it. Make sure it is cooling off. Check the temperature with a thermometer as soon as you turn it on (if it is already on, turn the settings to the coldest settings). Then when you come back to it, check it again with a thermometer. The thermometer will not lie to you but your hand will, so use the thermometer! Especially if you are cold or the temp outside is chilly.
- Remember to use your thermometer because your hands and skin will lie to you! Testing the heater and air conditioners takes understanding. If it is cold outside you want to test the HEATER first. Set the heater on MAX and 90 DEGREES and close up the doors and windows. Let it get good and HOT. During an RV inspection the heater should be able to warm up the entire camper in about 45 minutes so that it is at least comfortable. During this test you are not necessarily testing to see what temp it can heat up to, you just want to make sure there is hot air coming from the vents. Once you get the camper heated up then you can switch to testing the AC system. If it is cold outside you probably won’t see a big drop in temp, what you want to listen for is the AC compressor to kick on, so when you turn the AC units on, just turn them on in fan mode first and then to cooling and listen for the additional power draw from the compressor kicking in.
- Time to test the temps. Now if it is hot outside, test the air conditioners first. Turn the AC on max cooling (all the units if there is more than 1 AC unit). You want to see at least a 20 degree drop in temp and for the units to be able to maintain that 20 degree ambient temperature drop. Ambient temperature is the outside air temp, NOT the interior temp. If it is 100 degrees outside, you should expect the RV to cool down to 80 degrees. This can take some time if the camper has been sitting out in the sun and it is hot inside. Preferably I like to have the seller have the RV plugged in and the ACs running on arrival to reduce the amount of time it takes to test them.
- Let’s test the microwave! Take that bottle of water I told you to bring along and pour it into the coffee mug. Fill it up just about 1/2 below the rim. Then set the microwave to the highest power and set the timer for 5 minutes. The water should BOIL in the microwave within 5 minutes. BE CAREFUL NOT TO BURN YOURSELF WHEN YOU REMOVE THE MUG! I speak from experience here.
- If the stove is gas, make sure the LP tanks are turned on and lite up the stove. Make sure to lite the pilot light for the oven and turn it on as well. You want to make sure all the burners hold a steady flame in the highest setting and the lowest setting. Every RV oven is different and the regulators are often not set to temp from the factory so just make sure that the oven burner ignites properly and has a nice even flame to it in.
- If the stove is electric make sure it works, use the rest of your water (I hope you saved it) and pour some in a pan and turn on the burners and test them all. If the stove is an induction style, be sure it works with the proper pans. An induction stovetop should NOT produce any heat without the induction pans in place. Be very careful if you plan on using the magnet test with induction stove tops. I do NOT recommend it but a lot of people in the RV forums use it. I like to test things using what they were intended to work with. I actually carry an induction pan and regular pan for inspections.
- Dishwasher, clothes washer, dryer. This is pretty standard like you would at home. Make sure they turn on, you can hear water going in and make sure the expel water. You want to make sure they don’t leak. This may require removing some panels to check the water and drain lines. Take the time to do it so you are not sorry later on.
- Lights, ceiling fans and everything else. Check it. Don’t forget all the fancy under cabinet lights and reading lamps scattered throughout the RV. Some of these can be a pain to replace and really make a mess of your interior.
- Time to start testing the outlets. Use that GFCI outlet tester I recommended that you bring to your RV inspection. With the camper plugged in all outlets should have power. Use your GFCI tester and go around to EACH AND EVERY OUTLET. Depending on the device you will get some lights on the tester. Every tester is different so learn your tester at home on a known good circuit before you go to the RV inspection.
- Newer RVs and campers have USB power ports in a lot of the outlets and in the furniture. Using your USB cable and your favorite phone or other device, make sure they all power and charge your device. If you are checking the USB ports in the couch or chairs, make sure they are actually plugged into the power source.
I know this is a TON of information to absorb and put to work and try not to get too excited about that RV, Camper, 5th Wheel or Motorhome purchase. Know that I am here for you if you are not able to tackle it alone. Just shoot me a message through my website and I will get you scheduled and the unit inspected for you.